
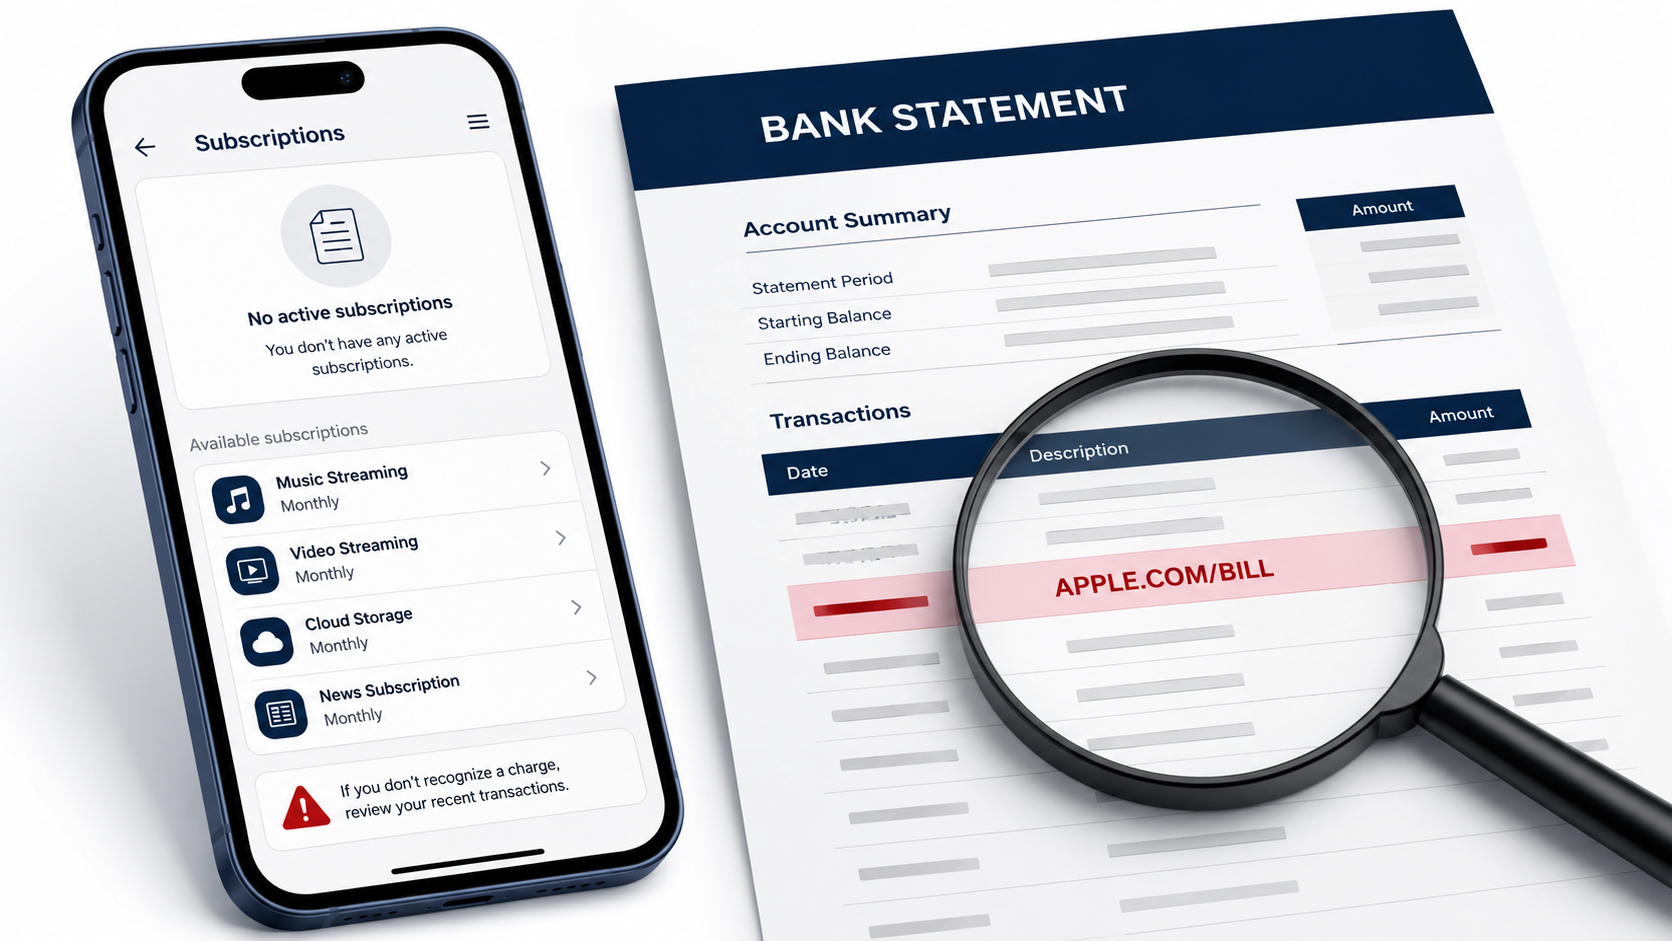
Why Is There an Apple Charge on My Bank Statement but Nothing Appears in My Subscriptions?
You check your bank account and find a charge described as APPLE.COM/BILL, ITUNES.COM/BILL, or something similar.
You open your iPhone, go to Settings, tap your name, and open Subscriptions.
Nothing matches the charge.
This can make the transaction look fraudulent, but an Apple charge does not have to be an active subscription. It can come from an app, an in-app purchase, digital content, cloud storage, a family member’s purchase, a delayed payment, or a transaction connected to another Apple Account.
The most important step is to check your complete purchase history, not only your subscription list.
Fast answer
An Apple charge can appear on your bank statement without appearing under Subscriptions because the payment may be:
- A one-time app purchase
- An in-app purchase
- A game purchase or virtual currency payment
- An Apple Music, Apple TV, movie, book, or other content purchase
- A group of several smaller purchases combined into one charge
- A purchase made by someone in your Family Sharing group
- A payment connected to a different Apple Account
- A delayed charge from an earlier purchase
- A subscription that has already been cancelled
- A fraudulent charge that only uses an Apple-looking description
Apple states that a charge from apple.com/bill can relate to apps, subscriptions, music, movies, and other Apple purchases. Your Subscriptions page only shows recurring services connected to the Apple Account currently signed in. It does not provide a complete record of every Apple payment.
Your first action should therefore be to open Apple’s purchase-history system and search for the exact amount shown by your bank.
Subscriptions and purchase history are not the same thing
This is the main source of confusion.
The Subscriptions page is designed to show recurring services that Apple manages for your account. These can include Apple services and eligible subscriptions purchased inside apps.
Your purchase history is broader. It can include:
- Paid apps
- In-app purchases
- Subscription renewals
- Movies and television content
- Music
- Books
- Game items
- Digital credits
- Purchases made through Family Sharing
- Other Apple media purchases
This means you can have a genuine Apple charge with no active subscription visible.
At CancelWise, our rule is simple:
Never decide that an Apple charge is fraudulent only because it is missing from the Subscriptions page. Check the full purchase history, all Apple Accounts, family purchases, and receipts first.
You should still act quickly, especially when you do not recognize the amount. However, following the checks in the correct order can prevent unnecessary bank disputes and help you identify the transaction faster.
Step one: Check your Apple purchase history online
Apple’s purchase-history system is usually the best place to begin.
Go to:
https://reportaproblem.apple.com
Sign in with the Apple Account that you currently use for App Store purchases.
After signing in:
- Review the listed purchases.
- Search for the exact amount shown on your bank statement.
- Check purchases from the days before the bank transaction.
- Open any matching purchase to view more information.
- Look for several smaller purchases that may equal the bank charge.
Apple specifically allows users to search their purchase history by amount. This is useful when the bank statement does not show the name of the app or service.
Do not search only on the exact date shown by the bank. The banking date and the purchase date may not always appear identical.
Check purchase history on an iPhone
You can also check directly on your iPhone:
- Open the App Store.
- Tap your profile picture or sign-in button.
- Tap Purchase History.
- Search using the amount of the charge.
- Change the date filter if the purchase is older than the default period.
Apple’s current instructions allow users to change the purchase-history period beyond the most recent ninety days.
Check purchase history on an iPad
On an iPad:
- Open the App Store.
- Tap your profile picture or sign-in button.
- Tap Apps & Purchase History.
- Tap Purchase History.
- Search for the amount.
Check purchase history on a Mac
On a Mac:
- Open the App Store.
- Click your name.
- Open Account Settings.
- Sign in if requested.
- Find Purchase History.
- Click See All.
- Search using the name, price, or order ID.
Do not rely only on the list of installed apps. A deleted app can still have generated a payment, and some purchases are made inside apps rather than for the apps themselves.
Step two: Search your email for Apple receipts
Apple normally sends a receipt to the email address connected to the Apple Account used for the purchase.
Search every email account you use for terms such as:
- Apple receipt
- Your receipt from Apple
- Invoice from Apple
- APPLE.COM/BILL
- App Store
- Apple purchase
- The exact amount charged
- The date of the transaction
Also check:
- Spam
- Junk
- Promotions
- Deleted messages
- Archived mail
The receipt can reveal the Apple Account used, the purchased item, the payment date, and whether the charge was connected to a family member.
Be careful with fake Apple emails. Do not click payment links in an unexpected email. Open Apple’s website or device settings separately instead.
A genuine-looking receipt does not prove that an email is genuine. Scammers frequently copy company branding. Confirm the transaction through your Apple Account before entering a password or payment information.
Step three: Check whether Apple combined several purchases
A single amount on your bank statement may represent more than one Apple purchase.
For example, your purchase history could contain:
- A small game purchase
- An app upgrade
- A movie rental
Your bank could show one larger Apple transaction rather than three separate lines.
This is one reason searching only for an individual app price can fail. Add together purchases made close to the transaction date and compare the total with your bank statement.
Illustrative example: The unexplained larger charge
This is a fictional example created to explain the process.
A user notices an Apple charge of $17.97. No subscription costs that amount.
The user checks the purchase history and finds three separate purchases:
- $4.99
- $2.99
- $9.99
Together, they equal $17.97.
The payment was not a hidden subscription. It was a combined billing transaction.
The lesson is that the number on your bank statement does not always correspond to one product or one subscription.
Step four: Check Family Sharing
Family Sharing is another major source of unexpected Apple charges.
When Purchase Sharing is enabled, the family organizer can be charged for purchases made by other members of the family group. Apple explains that the organizer generally pays for shared purchases unless Purchase Sharing is disabled or another adult family member uses their own payment method.
This means the charge may not appear as your own subscription.
Check whether you are the Family Sharing organizer:
- Open Settings.
- Tap your name.
- Tap Family or Family Sharing.
- Review the people in the group.
- Check whether Purchase Sharing is enabled.
- Ask each member whether they made a recent purchase.
You can also sign in to Apple’s Report a Problem page and review family purchases where available. Apple states that a family organizer can view purchases charged to the shared payment method and request refunds for eligible family purchases.
Illustrative example: A child’s in-app purchase
This is a fictional example.
A parent finds an Apple charge but sees no matching subscription on their phone.
The charge came from an in-app purchase made in a game on a child’s iPad. The child used a separate Apple Account, but the family organizer’s payment method was charged through Purchase Sharing.
The parent initially checked only their personal Subscriptions page. That page did not show the child’s one-time game purchase.
The correct checks were:
- Family Sharing members
- Shared purchase history
- The child’s Apple Account
- The purchase receipt
The lesson is that the person paying and the person making the purchase can be different.
Step five: Check every Apple Account you have used
Many people have more than one Apple Account without realizing how easily purchases become separated.
You may have:
- A current personal account
- An old Apple ID
- A work-related account
- An account using a previous email address
- A separate account used only for Media & Purchases
- An account created in another country or region
- A family member’s account signed in on an older device
Your iCloud account and your Media & Purchases account can also be different.
On an iPhone or iPad:
- Open Settings.
- Tap your name.
- Tap Media & Purchases.
- Check which account is signed in.
- Compare it with the account shown at the top of Settings.
If you have access to another Apple Account, sign in to reportaproblem.apple.com using that account and check its purchase history.
Do not repeatedly guess passwords. Use Apple’s official account-recovery process if you no longer have access.
Illustrative example: The old email address
This is a fictional example.
A person sees a monthly Apple charge but their current account shows no subscription.
They later discover that an older Apple Account, created with a previous email address, still has an active subscription.
The current iPhone is signed in to the new account, so the old subscription does not appear in the current account’s subscription list.
The bank card, however, remained attached to the old account.
The correct action is to sign in to the old account, cancel the subscription, and then consider requesting a refund if the transaction qualifies.
Step six: Check cancelled and expired subscriptions
A subscription can be missing from your active list because it has already been cancelled or expired.
The last payment may still be legitimate if the renewal occurred before cancellation.
Open:
Settings → Your name → Subscriptions
Review both:
- Active subscriptions
- Inactive or expired subscriptions
Open the relevant subscription and check:
- Renewal date
- Expiration date
- Plan price
- Whether a free trial converted into a paid plan
- Whether cancellation occurred before or after renewal
Apple’s current cancellation instructions direct users to open Settings, tap their name, choose Subscriptions, select the subscription, and tap Cancel Subscription when that option is available.
Cancelling a subscription does not automatically reverse a payment that has already been processed. Cancellation stops future renewals according to the subscription’s terms.
A refund is a separate request.
Step seven: Look for a free trial that converted into a paid plan
Some subscription charges begin after a free or discounted trial.
The user remembers downloading the app but does not remember agreeing to a continuing payment.
Check:
- The original sign-up email
- The App Store subscription page
- The trial end date
- The renewal price
- The account used during registration
- Whether another family member accepted the trial
Do not assume that deleting the app cancels the subscription. Removing an app from the device does not necessarily stop its billing arrangement.
A subscription must normally be cancelled through the system where it was purchased.
If it was billed by Apple, manage it through your Apple subscription settings. If the subscription was purchased directly from the company, it may need to be cancelled on that company’s website instead.
Step eight: Distinguish Apple billing from Apple Pay
An Apple-related transaction and an Apple Pay transaction are not necessarily the same thing.
APPLE.COM/BILL normally points toward an Apple digital purchase.
An ordinary merchant purchase made through Apple Pay is still a purchase from that merchant. The transaction may appear under the merchant’s name, and your card issuer remains the most accurate source for final transaction information.
Apple allows users to review recent Apple Pay transactions in Wallet:
- Open Wallet.
- Tap the card used.
- Select the transaction.
- Review the available information.
Apple states that the card issuer has the most accurate transaction record.
This distinction matters because contacting Apple about a normal store purchase made with Apple Pay may not resolve the issue. The merchant or card issuer may need to handle it.
Step nine: Check whether the charge is pending
A pending charge is not always a completed transaction.
Banks can display temporary authorizations while a payment is being verified or processed.
Before disputing a pending transaction:
- Check whether the bank labels it as pending.
- Wait for the final merchant description to appear.
- Check Apple purchase history again after the transaction posts.
- Record screenshots and dates.
- Contact the card issuer if the pending transaction remains unexplained.
Do not assume that every pending amount will become a completed payment.
At the same time, do not ignore a charge merely because it is pending. Continue checking the account and secure your Apple Account if you suspect unauthorized access.
Step ten: Check for an unpaid previous purchase
Apple can attempt to collect an unpaid balance from an earlier transaction.
Apple states that messages concerning a billing problem with a previous purchase can indicate an unpaid balance that Apple was unable to collect earlier.
This can make the payment date confusing. You may look for a purchase made on the day the bank was charged, while the original purchase occurred earlier.
Review:
- Previous declined payments
- Expired cards
- Recently updated payment methods
- Unpaid app or media purchases
- Subscription renewals that previously failed
The bank transaction date may represent the date payment succeeded, not the date the item was first purchased.
Step eleven: Confirm that the transaction actually came from Apple
A description containing the word “Apple” does not automatically prove that Apple processed the charge.
Bank-statement descriptions can be shortened, reformatted, or copied by fraudulent merchants.
Warning signs include:
- No matching transaction in any Apple purchase history
- No Apple receipt
- No family member recognizes the payment
- Repeated charges with changing amounts
- Charges after your card was replaced
- Transactions from an unfamiliar country
- A description that is close to, but not exactly like, normal Apple billing
- Suspicious emails asking you to “confirm” the charge by entering your password
If Apple cannot locate the charge and your bank confirms that it is an unauthorized card transaction, follow the bank’s fraud-reporting procedure.
Do not share:
- Your Apple Account password
- Verification codes
- Full card number
- Card security code
- Device passcode
- Account-recovery key
Apple Support and your bank can investigate without asking you to send passwords by email.
How to request a refund from Apple
Finding the transaction does not automatically mean you must accept it.
Some Apple purchases may qualify for a refund.
Go to:
https://reportaproblem.apple.com
Then:
- Sign in with the Apple Account used for the purchase.
- Choose I’d like to.
- Select Request a refund.
- Choose the reason.
- Select the purchase.
- Submit the request.
Apple states that App Store and other Apple content purchases may be eligible for refunds, but eligibility varies by country, region, purchase, and circumstances.
Do not describe the transaction as fraud if it was an accidental purchase. Give an accurate explanation.
Possible accurate reasons include:
- A child made the purchase without permission
- A free trial renewed unexpectedly
- The content did not work as described
- The purchase was accidental
- You did not receive the item
- You do not recognize the transaction
Apple decides whether to approve the request.
How to check your refund status
After submitting a request:
- Return to reportaproblem.apple.com.
- Sign in.
- Select Check Status of Claims.
- Open the pending request.
Apple states that if the status option is not displayed, there are no pending refund claims on that account.
When should you contact Apple Support?
Contact Apple Support when:
- You found the charge but cannot understand it
- The purchase history shows an item you did not authorize
- You cannot access the Apple Account used for the purchase
- A family purchase is unclear
- The refund system does not show the transaction
- You suspect your Apple Account was compromised
- The same charge appears more than once
- You need help identifying the Apple Account connected to a receipt
Use Apple’s official contact page:
https://support.apple.com/contact
Prepare the following information:
- Transaction amount
- Transaction date
- Exact bank-statement description
- Last four digits of the payment card
- Apple Accounts you checked
- Relevant Apple receipt or order number
- Screenshots with sensitive information hidden
- Steps you already completed
Never publish this information in a public forum.
When should you contact your bank?
Contact your card issuer when:
- Apple cannot identify the transaction
- You confirmed that no authorized person made it
- The charge appears fraudulent
- Your card details may have been stolen
- Multiple unauthorized transactions appear
- You need to block future card use
- You need to replace the card
- Apple directs you back to the card issuer
Tell the bank that you checked:
- Your Apple purchase history
- Your subscriptions
- Your other Apple Accounts
- Family Sharing
- Email receipts
- Apple Support
Ask whether the transaction is:
- Pending
- Completed
- Reversed
- A card verification
- A recurring card payment
- A digital-wallet transaction
- Part of a grouped merchant charge
Do not file a chargeback as the first step when the transaction is still identifiable and Apple’s refund process is available.
A chargeback can have consequences for the merchant relationship and the associated account. Use it when the charge is genuinely unauthorized or when the standard resolution process has failed, following your card issuer’s instructions.
What to do when you believe your Apple Account was compromised
If an unfamiliar purchase appears in your Apple purchase history, treat account security as a separate issue from the refund.
Take these actions:
- Change your Apple Account password.
- Confirm that two-factor authentication is enabled.
- Review trusted devices.
- Remove devices you do not recognize.
- Check trusted phone numbers.
- Review payment methods.
- Check Family Sharing members.
- Contact Apple Support.
- Contact your bank if card information is also at risk.
Changing your password does not automatically cancel subscriptions or reverse completed purchases. You still need to review subscriptions and request refunds separately.
Proof checklist before disputing the charge
Create a record of what you checked.
Bank information
- Exact charge description
- Amount
- Currency
- Date
- Pending or completed status
- Card used
- Whether the amount appeared more than once
Apple information
- Purchase history checked
- Exact amount searched
- Active subscriptions checked
- Expired subscriptions checked
- Other Apple Accounts checked
- Family Sharing checked
- Apple receipts searched
- Refund eligibility checked
- Apple Support contacted
Security information
- Password changed if required
- Trusted devices reviewed
- Unknown devices removed
- Two-factor authentication checked
- Payment methods reviewed
- Bank contacted if the charge remained unidentified
Keep screenshots, reference numbers, emails, and dates together.
This documentation makes it easier to explain the situation to Apple or your bank without relying on memory.
Common mistakes to avoid
Mistake one: Checking only active subscriptions
A one-time purchase will not appear as an active subscription.
Check purchase history as well.
Mistake two: Searching only the current Apple Account
The charge can belong to an old account or another account used for Media & Purchases.
Check every account you have used.
Mistake three: Ignoring Family Sharing
The family organizer can pay for another member’s purchase.
Review the family group before declaring the transaction unauthorized.
Mistake four: Expecting the bank date to match the purchase date exactly
Processing delays and previous unpaid balances can create a date difference.
Search several days around the transaction.
Mistake five: Looking for one purchase equal to the bank charge
Apple can combine multiple purchases.
Add together smaller transactions.
Mistake six: Deleting the app instead of cancelling
Deleting an app does not necessarily end its subscription.
Cancel it through the correct billing platform.
Mistake seven: Clicking a link in a suspicious receipt
Open Apple’s website directly instead.
A fake receipt can be designed to steal your password.
Mistake eight: Disputing the charge before collecting proof
First determine whether the transaction belongs to you, another Apple Account, or a family member.
Then use the correct resolution method.
CancelWise’s recommended order of action
When an Apple charge does not appear in Subscriptions, follow this exact order:
- Confirm the amount and status with your bank.
- Search the amount at reportaproblem.apple.com.
- Check your iPhone or iPad purchase history.
- Search your email for Apple receipts.
- Add together smaller Apple purchases.
- Check active and expired subscriptions.
- Check every Apple Account you have used.
- Review Family Sharing purchases.
- Determine whether it was an Apple Pay merchant transaction.
- Request a refund if the identified purchase qualifies.
- Contact Apple Support if the charge remains unclear.
- Contact your bank if Apple cannot identify it or it is unauthorized.
- Secure your Apple Account if you suspect unauthorized access.
This order separates three different problems:
- A recognized purchase
- An accidental or unwanted purchase
- A genuinely unauthorized transaction
Each problem requires a different response.
Frequently asked questions
Why does APPLE.COM/BILL appear on my statement?
It is a billing description used for certain Apple purchases. It can relate to apps, subscriptions, music, movies, books, in-app purchases, and other Apple services. It does not automatically mean that the charge is a subscription.
Why is an Apple charge not visible under Subscriptions?
The transaction may be a one-time purchase, in-app purchase, family purchase, grouped payment, expired subscription, or purchase made through another Apple Account.
The Subscriptions page is not a complete purchase record.
Can Apple combine several purchases into one charge?
Several smaller purchases can be associated with one bank transaction. Compare the total of nearby purchase-history entries with the amount on the statement.
Can a family member cause an Apple charge on my card?
Yes. When Family Sharing and Purchase Sharing are enabled, the organizer’s payment method can be charged for purchases made by family members.
Can a cancelled subscription still charge me?
A payment can still appear if the renewal occurred before you cancelled. Cancelling usually stops future renewals; it does not automatically refund an already processed payment.
Why is the charge dated later than the purchase?
Payment processing, grouped billing, or collection of a previously unpaid balance can cause the statement date to differ from the original purchase date.
Does deleting an app cancel its subscription?
No. Deleting the app does not necessarily cancel the subscription. You must cancel through Apple’s subscription settings or through the company that billed you.
Can I request a refund?
You can submit a refund request through Apple’s Report a Problem service. Apple determines eligibility based on the purchase, circumstances, and applicable rules.
What should I do if the charge is not in any Apple Account?
Check Family Sharing, receipts, grouped purchases, Apple Pay transactions, and old accounts. If Apple cannot identify the charge, contact your bank and report it as an unrecognized transaction.
Should I cancel my bank card immediately?
Contact your bank immediately when there are signs of card fraud, repeated unauthorized charges, or account compromise. When the charge is still unclear but there are no other fraud indicators, complete the Apple checks promptly and ask the bank whether the transaction is pending or completed.
Can Apple Support tell me what the charge is?
Apple Support can assist with Apple billing questions, but you may need to provide the amount, date, account information, and last four digits of the payment card. Use Apple’s official support channels.
Is every transaction containing “Apple” genuine?
No. A statement description alone does not prove that Apple processed the transaction. Confirm it through Apple purchase history, official receipts, Apple Support, and your card issuer.
Final conclusion
An Apple charge that does not appear under Subscriptions is not automatically a hidden subscription or fraud.
The most common explanation is that the charge belongs somewhere else: purchase history, an in-app payment, a family member’s account, an older Apple Account, an expired subscription, or several purchases combined into one bank transaction.
Start by searching the exact amount in Apple’s purchase history. Then check receipts, Family Sharing, other Apple Accounts, expired subscriptions, and the payment date.
Request a refund when you identify an eligible unwanted purchase. Contact Apple Support when the transaction remains unclear. Contact your bank when Apple cannot locate it or when you confirm that it was unauthorized.
The safest approach is to identify first, document everything, secure your account when necessary, and use the correct dispute process for the actual type of transaction.
CancelWise provides general educational information about subscriptions, billing, cancellations, and refunds. We are not Apple, a bank, a card issuer, or a legal service. Refund decisions are made by Apple or the relevant payment provider. Procedures and eligibility can vary by country or region.
Comments (0)
No published comments yet. Start a useful, respectful discussion.